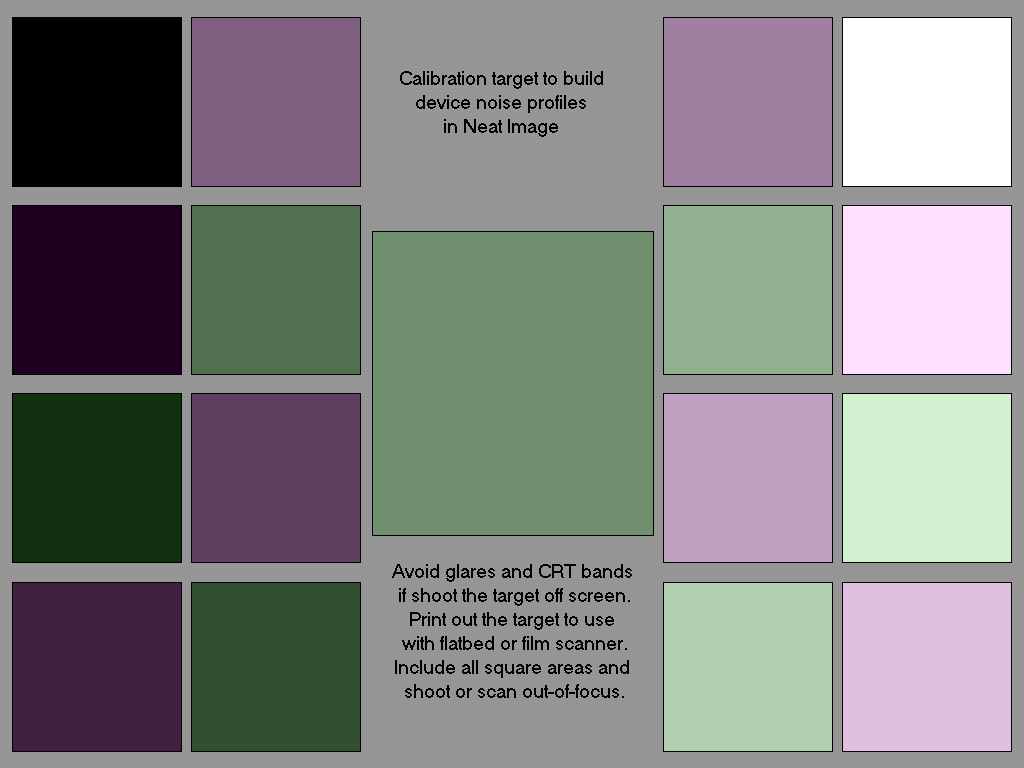
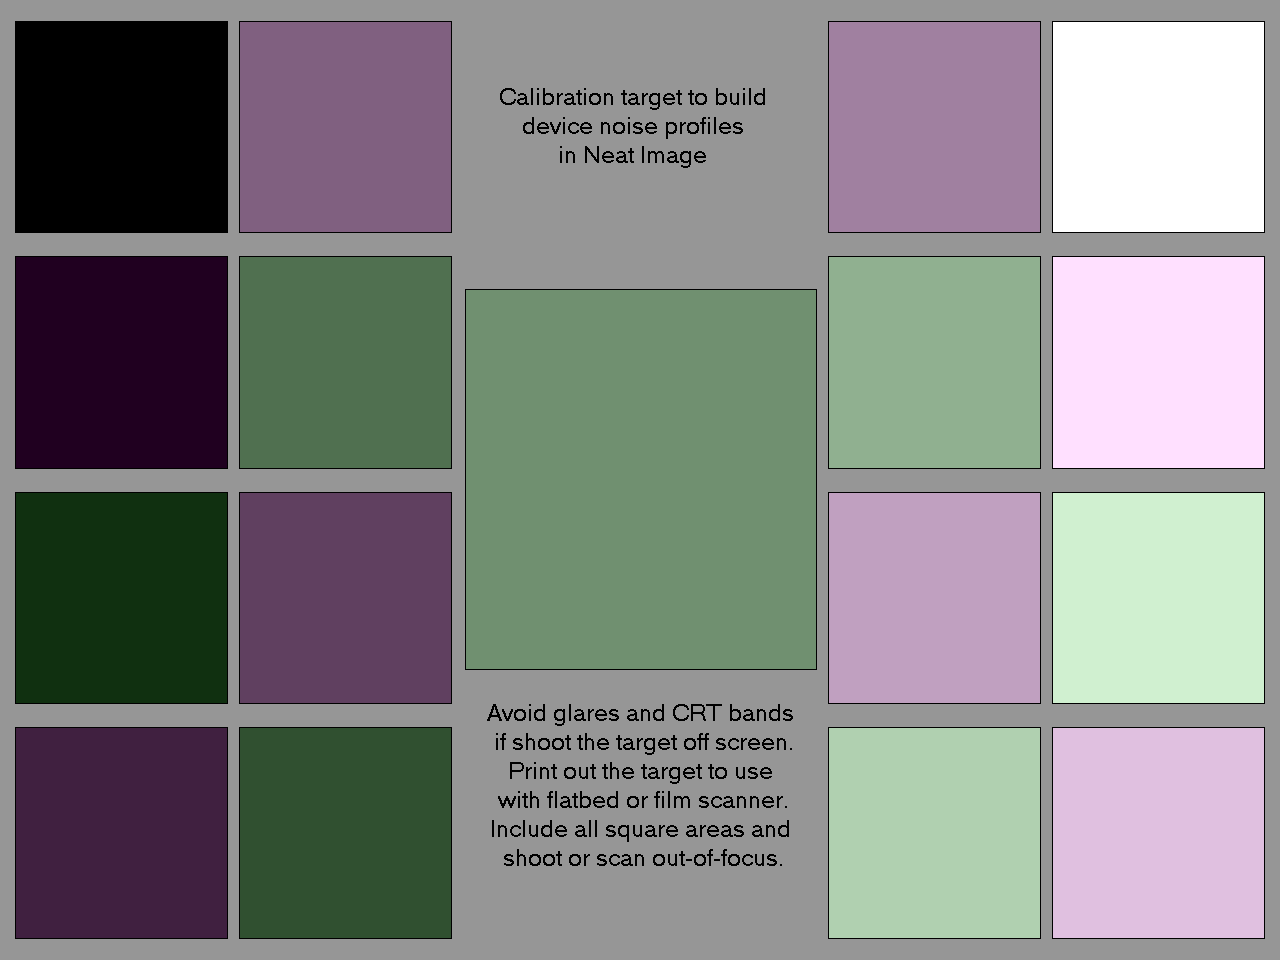
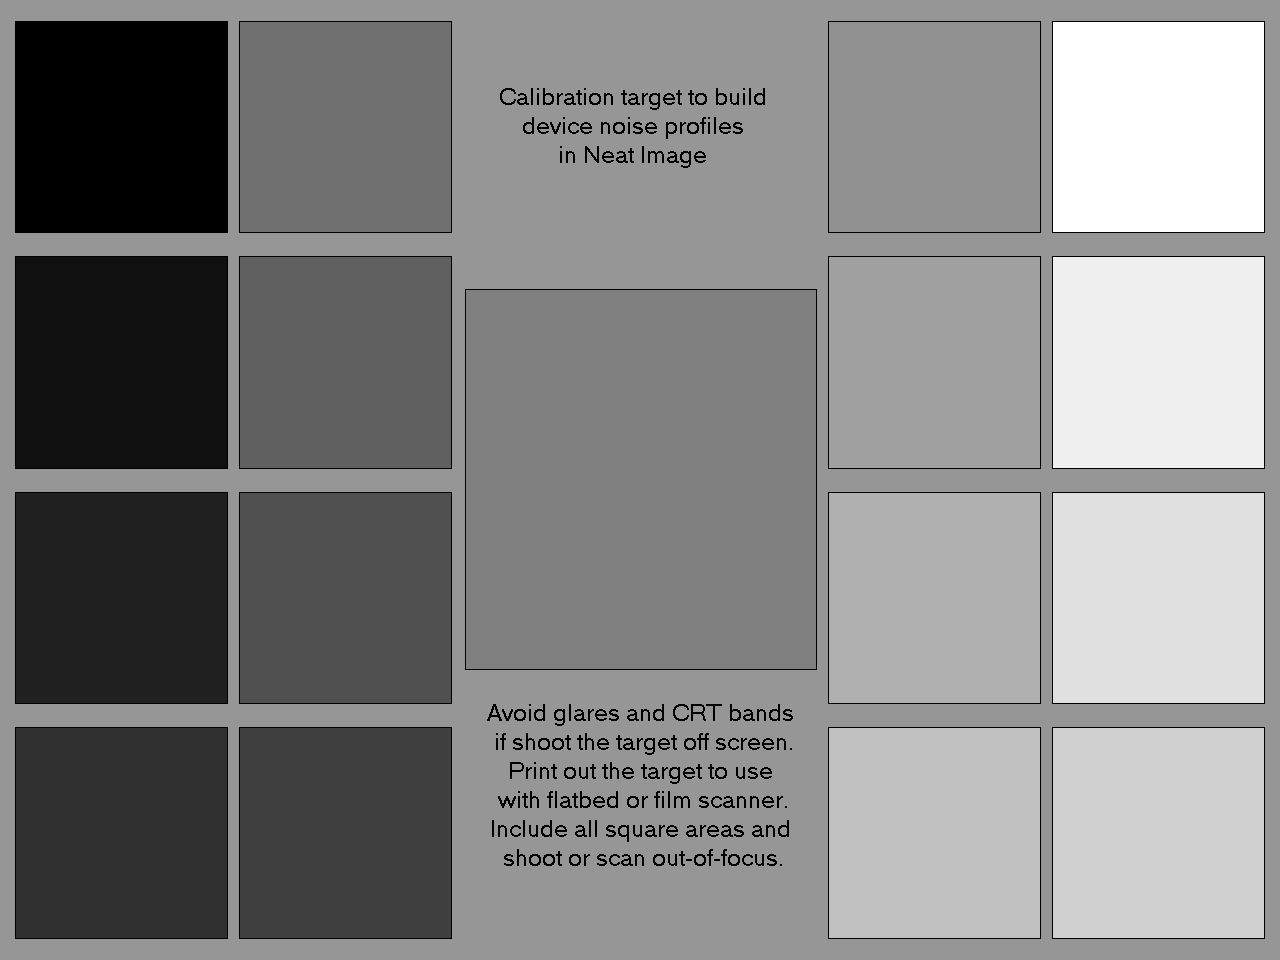
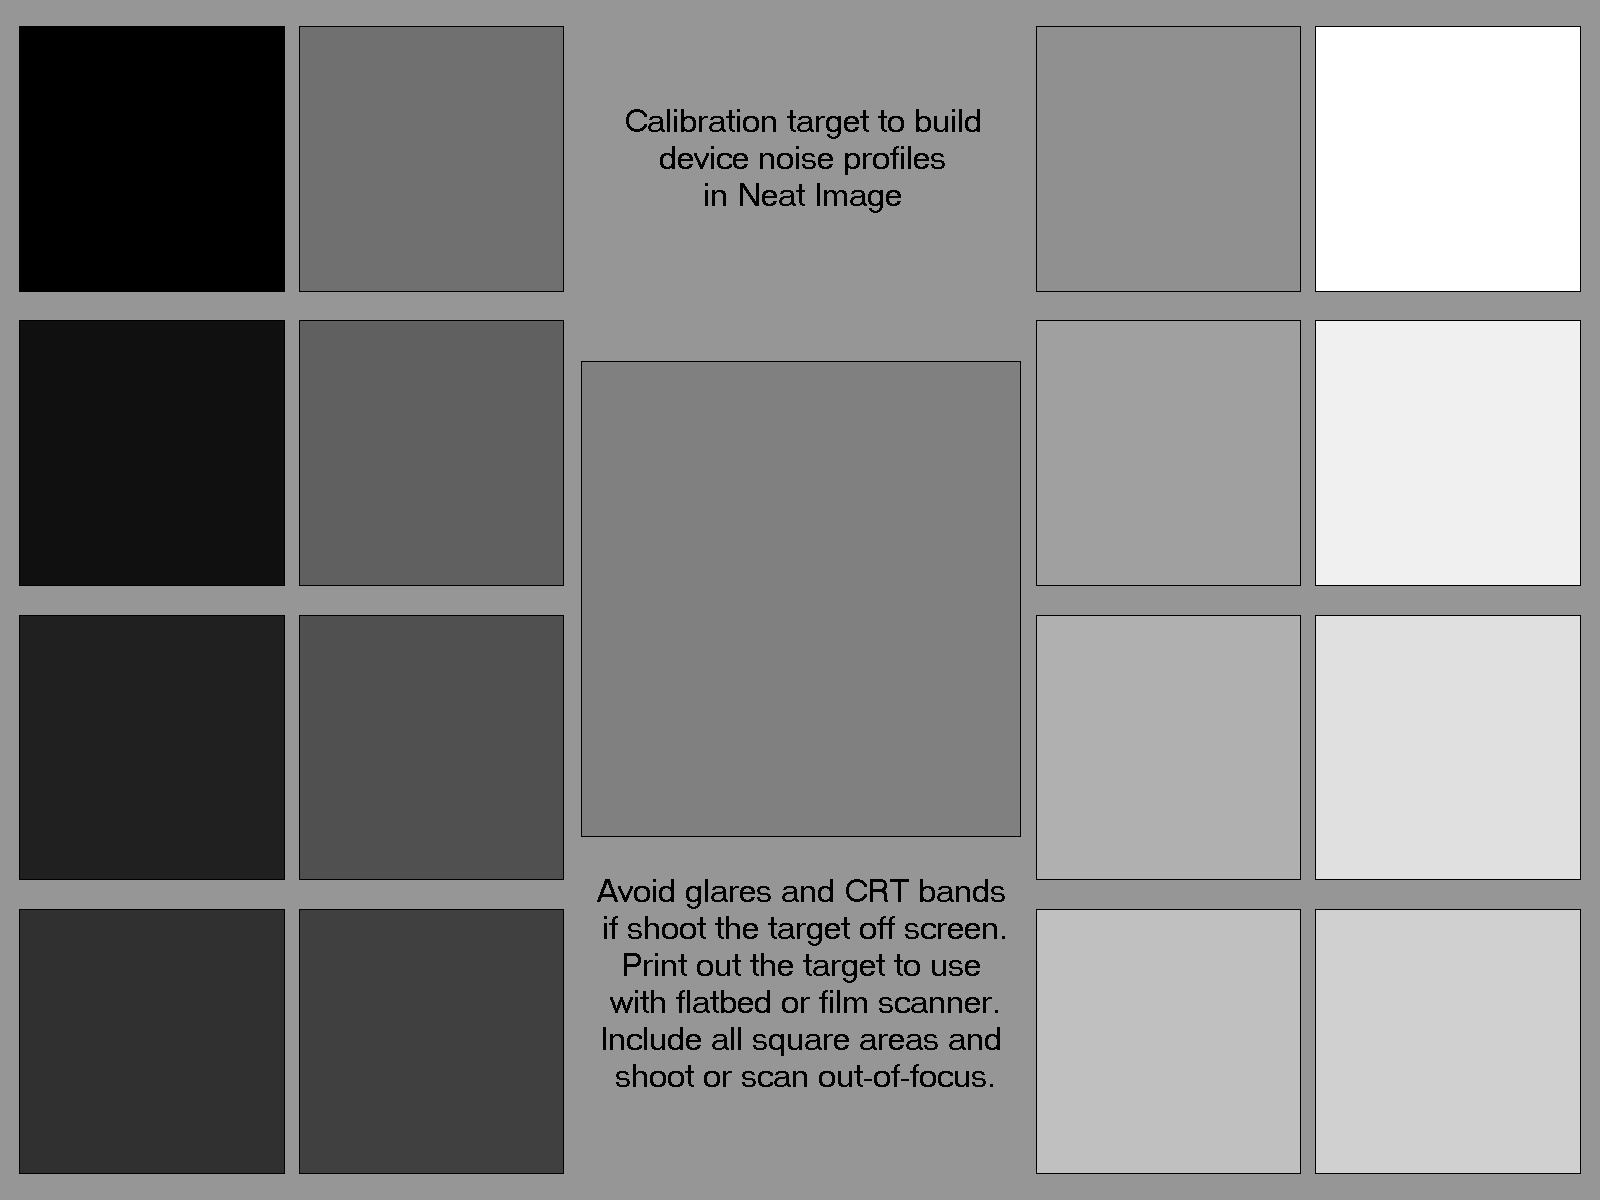
Calibration Target
The Calibration Target is specially designed to enable easy profiling of various imaging devices. It can be used to build a single profile for a certain device mode or a set of profiles for different modes.
Digital camera profiling
Use the Calibration Target to build device noise profile(s) for your camera using these steps:
- Open the Calibration Target on the whole screen or print it out on a matte white paper in high quality to avoid printing artifacts:
- Set your camera to a certain shooting mode (ISO level, exposure, etc.) that you want to have a profile for
- IMPORTANT: set the focusing system on infinity (or macro; you need to get an out of focus image)
- Make a shot of the Calibration Target on the screen (make sure it fills the whole frame, avoid reflections, glare, etc.) or on paper
-
Open the shot in Neat Image and build a profile using the menu item:
Profile > Auto Profile with Calibration Target - Save the noise profile to a file with an explanatory name (like C5050Z-ISO100-HQ-SharpNormal-2560x1696.dnp)
Flatbed scanner profiling
Use the Calibration Target to build device noise profile(s) for your flatbed scanner:
- Print the Calibration Target on a matte white paper in high quality to avoid printing artifacts:
- Set your scanner to a certain mode (resolution, light level, etc.) that you want to have a profile for
- If possible set the scanner out of focus (an out of focus scan is preferred for profiling)
- Scan the Calibration Target
-
Open the scan in Neat Image and build a profile using the menu item:
Profile > Auto Profile with Calibration Target - Save the noise profile to a file with an explanatory name (like Epson-2450-4800dpi.dnp)
Film scanner profiling
Use the calibration target to build device noise profile(s) for your film scanner:
- Open the Calibration Target on the whole screen or print it out on a matte white paper in high quality to avoid printing artifacts:
- Set your camera to a certain shooting mode (ISO level, exposure, film type, etc.) that you want to have a profile for
- IMPORTANT: set the focusing system on infinity (you need to get an out of focus shot)
- Make a shot of the Calibration Target on the screen (make sure it fills the whole frame, avoid reflections, glare, etc.) or on paper
- Develop the slide and put it into the scanner
- Set the scanner to a certain mode (resolution, light level, etc.) that you want to build a profile for
- Scan the slide
-
Open the scan in Neat Image and build a profile using the menu item:
Profile > Auto Profile with Calibration Target - Save the noise profile to a file with an explanatory name (like Nikon LS4000ED-2700dpi.dnp)