Quick Start Guide: Aperture plug-in
This quick start guide is for Neat Image v7 plug-in for Aperture. If you use another version of Neat Image, please check its documentation.
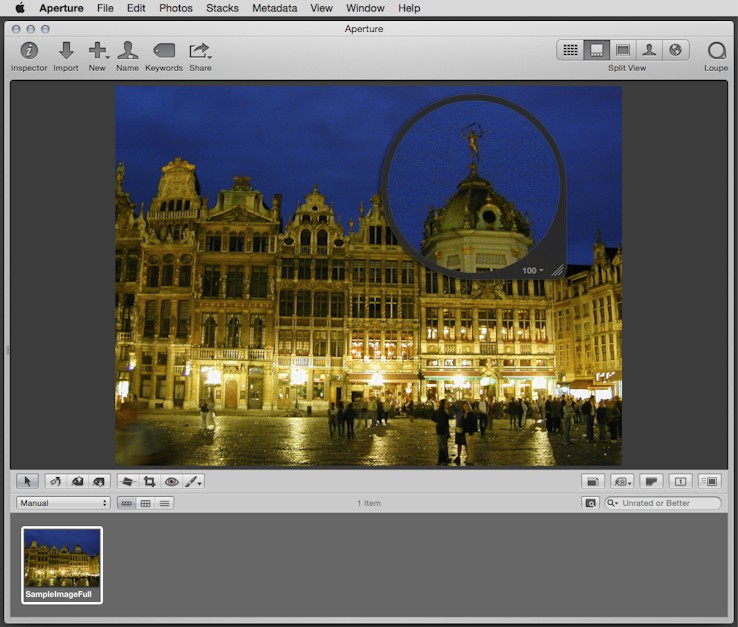
I. Select input image in Aperture
In Aperture, (if necessary, import and) select the image to be processed:
II. Start Neat Image plug-in
Use Aperture menu command: Images > Edit With > Neat Image...
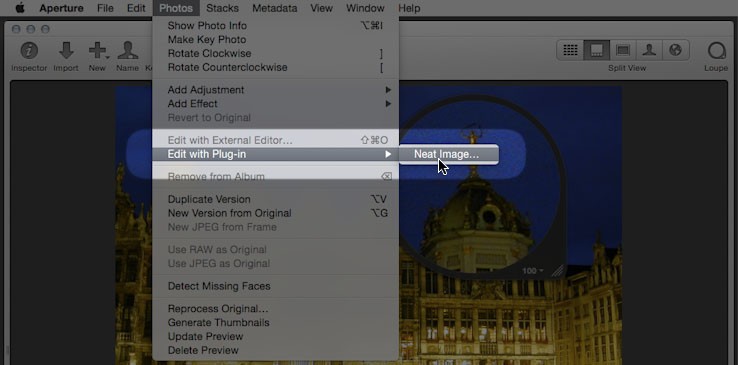
This will open the Neat Image plug-in window.
III. Build noise profile using Auto Profile
1. Click the Auto Profile button to build a new noise profile for the input image:

Auto Profile will try to automacally find and analyze a flat featureless image area that contains only noise and no important details:
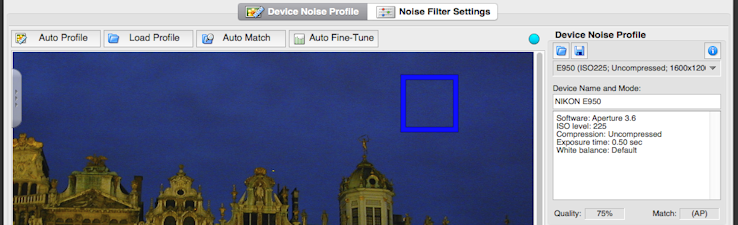
2. Visually inspect the selected image area - it should contain no visible details, only noise (otherwise the analysis and subsequent noise reduction may be inaccurate).
If the selected area does contain any details, move the selection to a featureless area or simply draw a new selection in such an area (the selection should be more than 32x32 pixels large). Then click the Auto Profile button again.
3. A new noise profile is ready and the input image can be processed.
IV. Switch to Noise Filter Settings
Click the Noise Filter Settings tab:

V. Use Preview
1. Neat Image will automatically select an area in the image or the whole visible part of the image and prepare a preview:
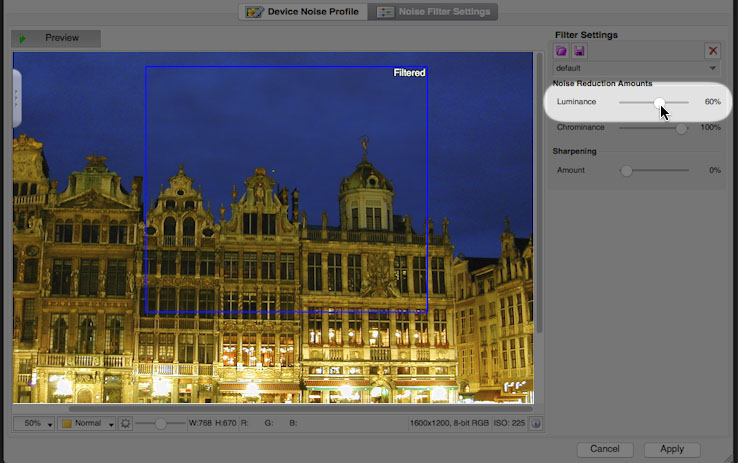
Hint: Click in the preview area in the plug-in window to compare before and after versions.
2. Try adjusting the Noise Reduction Amount: Luminance and observe how the preview changes.
This controls how much of the detected noise is removed in the luminance component of the image. Too high value of the noise reduction amount can lead to unnatural (oversmooth, plastic-like) results. Too low values may be not enough to sufficiently reduce objectionable noise. You have to balance the noise reduction amount in the luminance channel to get the result that looks best to your eyes.
3. When you are happy with the preview results proceed to the next step below.
VI. Apply filter to image
Click the Apply button to start processing:

VIII. Final result
After the processing is completed, the filtered image is back in Aperture:
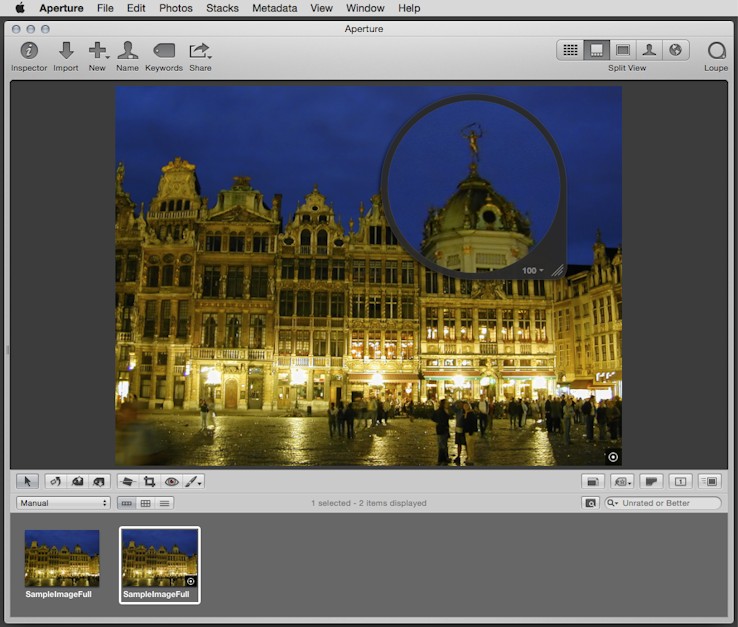
![]()
Hint: if you move the mouse pointer over the above screenshot, it will temporarily switch to the unfiltered image to show the difference between original and filtered images.

The above steps explain the basic Neat Image plug-in workflow. There is a lot more information about building noise profiles, adjusting filter settings, using the calibration target, etc.
Please use the following materials to learn more about using Neat Image:
- More information on device noise profiling with examples of good and bad areas for noise profiling
- Recommended: the Filtration process details section of the user guide
- Questions and Answers
- Tips and Tricks
- Neat Image community forum — a lot of useful information and practical experince of Neat Image user can be found there
- Technical support by e-mail